Ariel Pink Dress Tutorial Part One

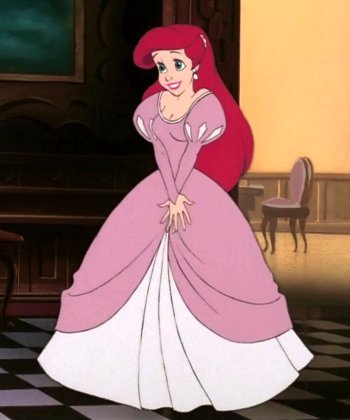
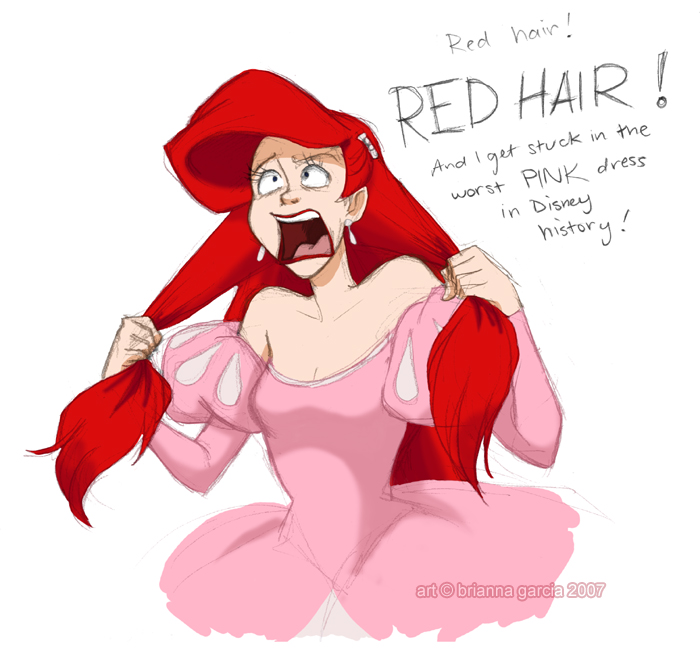
Okay. So. I know there's been some issue with Ariels pink dress. A lot of very influential bloggers have stated they dislike it. Red hair, it is commonly known, does not make good bed partners with the color pink. Brichan, my very favorite artist has even made a most amusing picture ->
 |
| http://briannacherrygarcia.deviantart.com/art/pink-makes-ariel-cry-52697915 |
Which, by the by is HILARIOUS. So many cosplayers have seen and posed in this way because Bri is like a demi-god in the Disney world. She deserves that status believe you me.
Anyway, for my part, I've never seen anything offensive about the gown. In fact, it is my favorite Disney Princess dress. I can recall the scene perfectly, where Ariel steps out from the shadows and into the light, modest and eager, and Erik is all like; DAYUM.

Anyway, bottom line. I want to make some Princess getups for myself and this is at the top of my list for being my favorite Disney Dress.
HERE BE THE TUTORIAL?WALKTHROUGH?TRAIPSE THROUGH MY PROCESS!!!
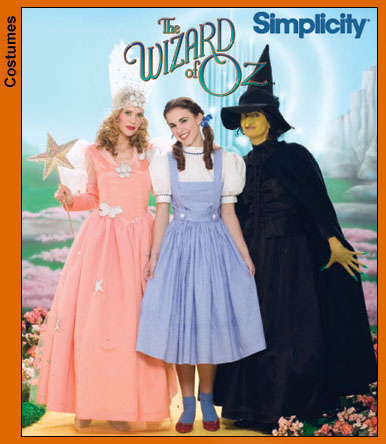
I began with this pattern, Simplicity 4136:

Puff long sleeves, check, slightly pointed waist, check. Option to later rock the Ruby Slippers. Check.
Also, TOTALLY IN MY PATTERN STASH! TAKE THAT FAMILY! I NEEDED IT! I TOLD YOU!
Ahem. Anyway, conceptualize the concept.
When I went to Disney I took note of the costumes. I went during Halloween so there was a lot of the. Most popular Couple Costume? Bell and Gaston. Popular child? Elsa, duh. On and on. I saw but one, lonely pink Ariel dress, on a little girl at Epcot and it has inspired me with this. She was in action, twirling to grab her mothers hand and run down the boardwalk toward the Mexican Area. Her over-skirt was just two swags, like Cinderellas but bigger, and her underskirt was voluminous and when she twirled it spun into life. She couldn't have been more than eight. I was very jealous and terribly upset I didn't grab a photo before she was gone.
I modeled the dress after her and my vision of Ariel. In the upper righthand corner of my sketch I pinned two fabrics. The cream on cream weft and weave design for the skirt. I found the perfect pink, a dusky rose taffeta like fabric from David Tutera's collection. LOVE HIM. Anyways, this was my concept that I poured over while at work, sketched again and again.
So to begin I started with what should have been the easiest bit. The underskirt. I single line cartridge pleated it, thinking that TEN YARDS of fabric would be enough for my corsetted waist.
HAH.
Not even close. But because I get impatient I decided to do some , brace yourselves girls, MOCK UPS of the overskirt while I had the skirt pinned to Blue.
Now, I have this hideous taffeta like fabric in an unbelievably color (See Below) and because of its similarity to my fashion fabric I used it for the mock up. I am tempted to do the whole dress like it and do a No More Miss Nice Princess photo shoot. Lol.
So, with the Cartridge pleating and single swag.
In the earlier concept stage of drawing, I figured I would use my D shaped piece to create the swags like I did my niece's Cinderella.
However, on second thoughs (actually like, fifth thoughts if Im honest) the dramatic shape of ruching along the curve creates a different siluehet than that which I've been dreaming about since approximately second grade. So I took about two yards of the camo, (CAMO TAFFETA OMG) and cut a sloping curve to the top. To add it to the dress I pinned the front and back and loosely pleated the middle to create a pleasing, figure conforming shape.
We like, yes?
Anyway, came the fun part. Figuring out the skirt since plan A sailed away for a Three Hour Tour. Circle skirt? Meh. If I cut into the fabric its pretty useless afterwards. And OMG heming a floorlength circle skirt!! AHHHHHHHHHHHHHHHHH!
So, drindl. Simple enough. I had a packet of elastic, why not?
I also cut out a second swag to get a better look at what it would really look like.
TO BE CONTINUED!!!!


Comments
Post a Comment